Note, this review is based on the trial version of the software and is not any way
affiliated with or supported by Topaz Labs. I wrote this to offer my opinion on the
software and I want it to be as unbiased as possible, which is why none of the links
provided here are affiliate links.
If you are a photographer working with Adobe Photoshop you probably have heard about Topaz Labs. I admit I hadn’t used any of their software suites or plugins, but I did come across a Facebook post that talked about Topaz Labs’s A.I. Gigapixel.
A.I. Gigapixel (henceforth, just Gigapixel), in short, is an image resizer. What makes Gigapixel stand out however (at least according to the marketing blurb) is that it relies on an already trained neural network that can supposedly offer much better simulated quality when enlarging a picture, compared to other similar solutions.
Quite the bold claim there, let’s put it to the test then!
Samples
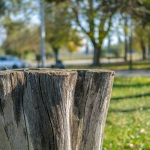
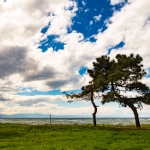
I am going to use the following three photos, each from a different gallery of mine:
I chose these three photos because each one exhibits different characteristics that can show potential weaknesses and strengths of the application.
The first one, the tree stump has lots of definite detail on the foreground with a blurred background; it will be interesting to see how much the foreground is enhanced when resized and whether the background is affected or not.
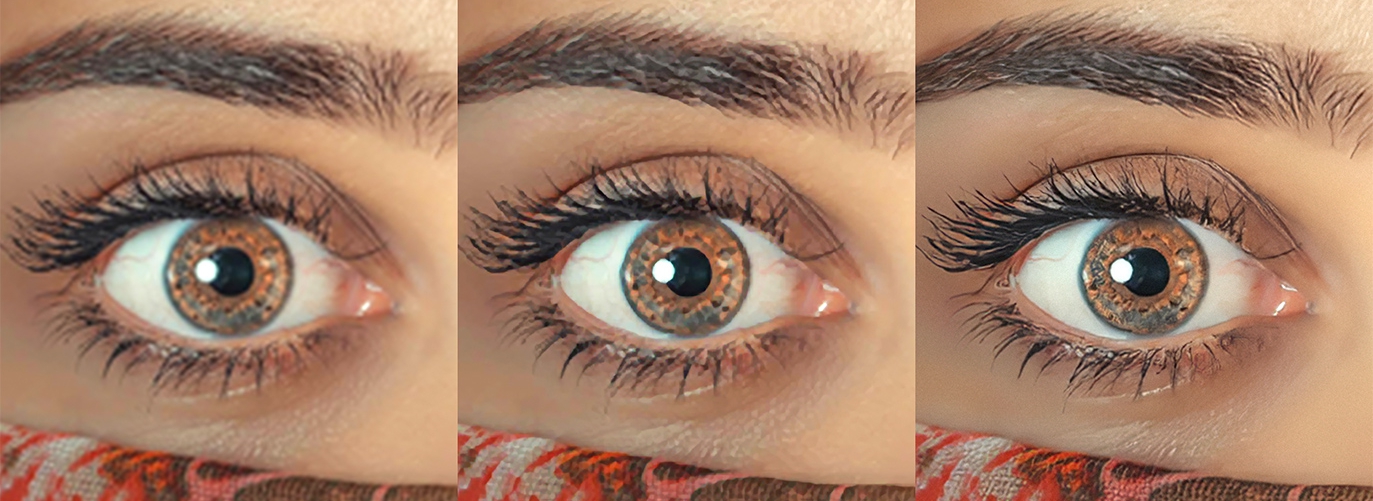
The second one, Argiro (stress on o), only has a few parts in focus. There are very limited areas where edge detection algorithms can perform adequately and I suspect that it is mostly going to enhance the eyebrows and the eyes, some of the hair perhaps, and potentially the nose ring.
Finally, the landscape on the last one can be tricky; it has areas with very high contrast, but the tree itself as well as the clouds can introduce artifacts, plus, as you will see, it has some technical issues as a photo.
The application itself
After you sign-up to Topaz’s website and logon to Gigapixel, you are presented with the main application where you can drag and drop image files. The application supports a plethora of file formats, too many to enumerate them here and seems to even support Olympus’s RAW file format (ORF). However, keep in mind that when I tried it with a DNG file, it operated only on the embedded JPEG preview in it, rather than the file itself!
The main UI looks like this:
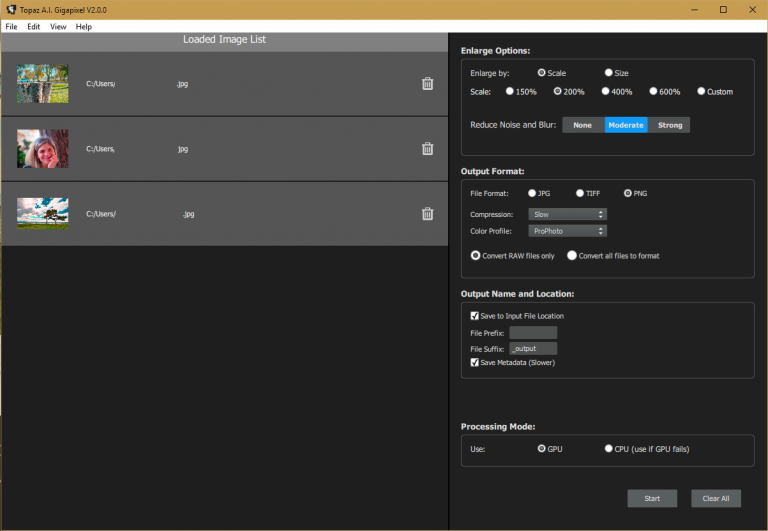
Everything is pretty much self-explanatory with the exception of the “Reduce Noise and Blur” options. Searching around on the net, I found this post that explains the differences. I will be working on the full resolution images, but I will be testing both with the None and Medium presets.
Results
The Tree Trunk
Here are the results of a 200% enlargement of the photo. I am comparing Paint.net’s “Best Quality” resize preset with the None and Medium noise reduction presets from Topaz. Here are the parts of the photo I used outlined with red to indicate how small of a window a 200x200px square is, compared to the original:

And following are the 100% crops.

Click on the photo to see it in full resolution in order to be able to better discern the differences. Starting from the out of focus areas on the right, I am surprised to see that the bicubic resize managed to produce artifacts, considering that we have smooth transitions between colours and minimal noise.
On the other hand, the Medium NR profile produces the best results out of the three by far, however the No NR manages to produce worse results than the bicubic process, featuring exaggerated artifacts and keep in mind that this was a processed photo with NR already applied to it, shot in ISO 200.
Moving to the left and to the slightly off-focus part of the photo, we can see that both presets apply some light but careful sharpening which, whilst it doesn’t do wonders, it is not overly fake either and can be useful. I cannot find any noticeable differences on the slightly out of focus parts of the
photo between the No NR and the Medium NR profiles (however the story is the same for the smooth gradient parts as with the previous one).
The third column from the right deals with a low light in-focus part of the photo which showcases the differences between the three approaches the best. The bicubic approach is much much worse than either of the Gigapixel presets. I find the NO NR preset to be a bit harsh and it starts looking unnatural, however it still works much better compared to the previous points.
Finally, the leftmost column showcases an in-focus part of the photo with plenty of light. At this point, the results are very similar, albeit the two Gigapixel approaches are marginally better than the bicubic approach without much if any difference between them.
So far, Gigapixel is subtle and relatively effective. The Medium NR preset appears to be the logical choice here compared to the other two choices. Let’s see how it manages with the portrait then, shall we?
The Portrait

This time we’ll go from left to right. We start with a relatively light but detailed part of the photo, the hair. I think that the Medium profile works best here. The improvement is subtle compared to bicubic but definite, while the the No NR profile is overly jagged, I would say worse than the bicubic one even!
The darker but similarly detailed eyebrow exhibits very similar characteristics. Both presets are effective compared to bicubic, but the artifacts introduced by the No NR profile make it almost useless.
Moving to the ring, both presets improve upon the bicubic approach and once again the Medium preset is marginally better than the No NR one.
Finally, the detail on the fingers is greatly enhanced in both cases, with the Medium profile exhibiting slightly higher detail and cleaner gradients. 2 out of 3 wins for the Medium profile so far!
The Landscape

This is an interesting photo, mostly because you can instantly notice its imperfections. Resizing artifacts as well as chromatic aberration are both evident and I was curious to see how it affected the final result.
The pole is an example of resizing artifacts being present. Topaz can’t help much here, since the lack of sharpness causes a less steep curve in the contrast of the pole and the background. Regardless, in this case I think that with the exception of some very subtle artifacts in the background, the No NR profile looks marginally better than the other two approaches. Also, the outline of the mountain which doesn’t suffer from resizing artifacts is nicely and properly sharpened, though I find that the Medium profile is slightly cleaner here.
Moving on to the second part, the trunk with the pines and the cloudy background, we have the most contrasting and sharpest part of the image, which is where I expect Gigapixel to excel. While both profiles improve significantly upon the detail of the pines (and up to a limited extent on the trunk outline) the No NR profile produces the best result here, albeit the Medium one is very close.
The grass slightly favours the Medium profile. The No NR is sharper than the bicubic one, yet appears a bit softer than the Medium one.
It’s the same story with the cloud detail, with the Medium profile being a significant improvement over the bicubic approach, while the No NR one exhibits both artifacts and a slightly softer result.
Should I buy it?
When you visit the A.I. Gigapixel website you are greeted with a header demo of a highly detailed photo that showcases the application. The original example uses nearest neighbour for resizing while the end result looks amazing, mostly because the contrast between those two images is so great.
I am shooting using Micro Four Thirds. While prints and especially large prints are not really a priority for me, I would appreciate any improvement I can get whenever I need to enlarge a photo, without exhibiting any artifacts due to the resize process.
With that in mind, even though my photos did not exhibit the same impressive results as the ones showcased in Gigapixel’s website when put under the process, that’s not to say I didn’t get any useful results either. Improvements were there and in almost every case the Medium NR plugin offered quantifiable results. The application costs 100 USD and if you are a photographer this is a very reasonable price, especially if you do prints.
You can buy the application here; let me know if you have had a different experience by using this tool.
